
Remember that pantry cupboard tutorial that we did earlier? Well....it didn't fit in the storage unit and therefore had to be sold and leaving me with the problem of storage in the kitchen. So 3 am can't sleep and I think why not embrace the industrial side and add a farmhouse twist. And this is what I came with.
My family and I went to Lowe's and purchased the shelfs but I included a link for ones on amazon so you could see how they look at first. The barn wood contact paper was from Walmart, 4.88 a roll and for two shelving units I needed 3 rolls (which left me with some left over). I would recommend a buddy for this diy project! They are great help when you apply the contact paper to the shelfs, so you don't get any bubbles. My buddy was a great help and we finished this project in less than two hours. Easy project!
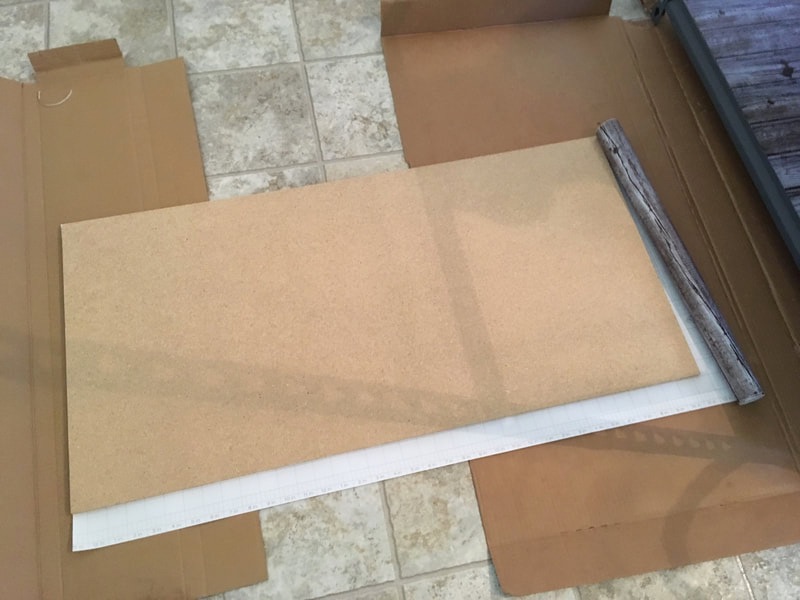
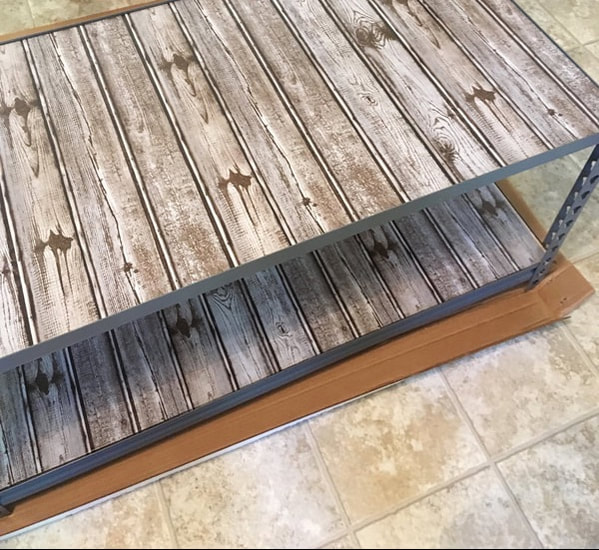
Take your shelf and lay it on the contact paper to cut to size. A razor blade knife worked the best, hence the cardboard underneath to protect the floor. Then slowly peel back the paper, pressing firmly as you go attaching the paper to the shelf. For the desired look below. We added the paper to each shelf as we were building.
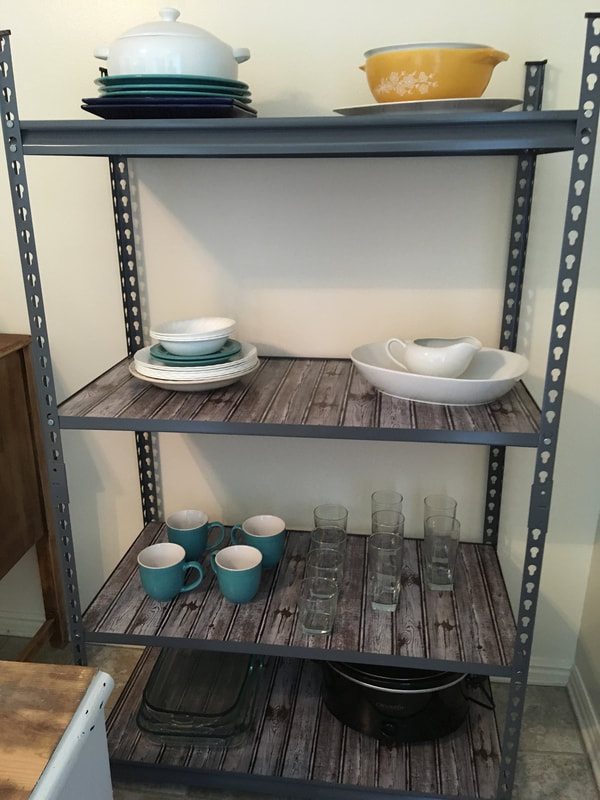
Then I started playing with different things that I needed to store on the shelfs. And created a look that I wanted using our own dishes and things.
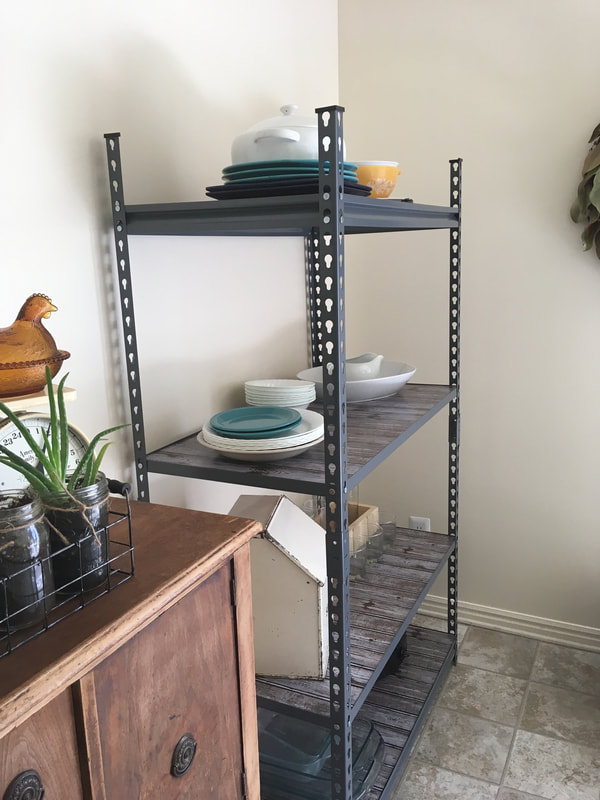
Open storage doesn't have to be clutter. It turned out so well and really gave us the MUCH needed storage. The shelfs were $114 for the two of them and with the 3 rolls of contact paper the total for this project came to 128.64. With these shelfs being so industrial, we have plans to use them in many ways, making the (pricey) purchase well worth it.
Want to make it cheaper? Search garage sales and thrift stores for used shelfs!
0 Comments
|

Hello, I'm LindseyA wife to hubby pursing higher education, a mother to three energetic kids, obsessed with all things farmhouse vintage and believer that food always taste better when it is shared. Categories
All
|
 RSS Feed
